In this example we will be making a call to read the performance results for a single individual. All of the screen shots in this guide are using Google Chrome Version 38.0.2125.58 beta-m (64-bit). However, the display should not vary too much for other browsers.
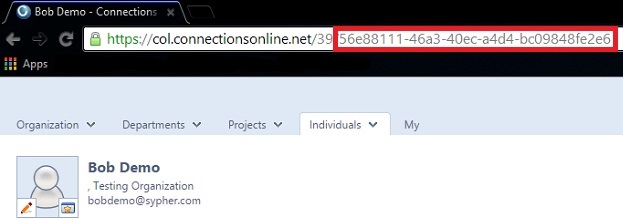
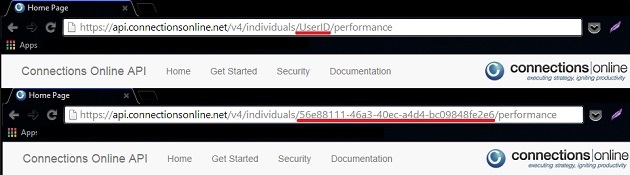
First step to getting an individual's performance data is to have the ID of that individual. Please note that you will not be able to read another person's data unless you have permission to view that data in Connections Online. In order to retrieve the person's ID you will want to log into connections online and go to that individual’s page. Once there copy and paste their ID from the URL, it should look similar to the screenshot. Now that you have the ID, save it in a safe place and let's move on to getting the period.
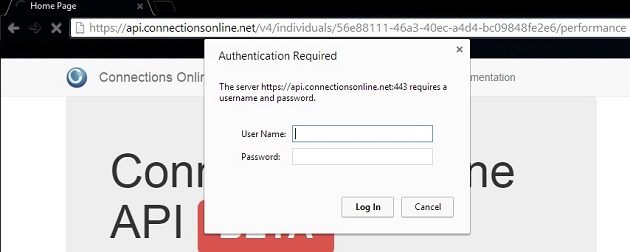
If you want information from the current period you can skip this section. Otherwise go to https://api.connectionsonline.net/v4/periods. Here you will be prompted for your User Name and Password.
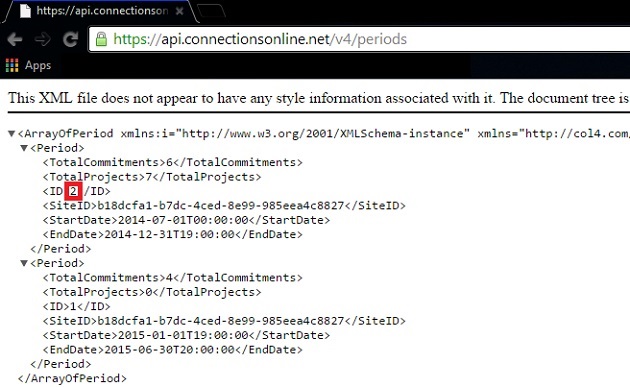
After entering your user name and password you will get a list of your periods in xml. Decide which period you wish to get information about and copy down that ID. For this example we will be using period 2.
If you are returning data for the current period you do not need to include the period ID. In this case just change "userID" to the ID we copied from Connections Online, as shown in the screenshots. This will give you the data for the current period matching that Individual's ID in xml format.
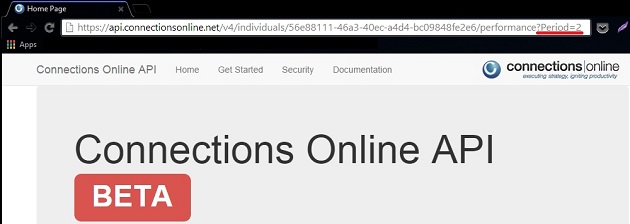
If you want to get data for a specific period we just need to change the route slightly. Add "?Period=PeriodID" to the end of the route. Replace the userID with the user's ID we copied from Connections Online and replace periodID with the ID of the period we searched for using the API. This will give you the data for the specified period matching the individual ID in xml format.
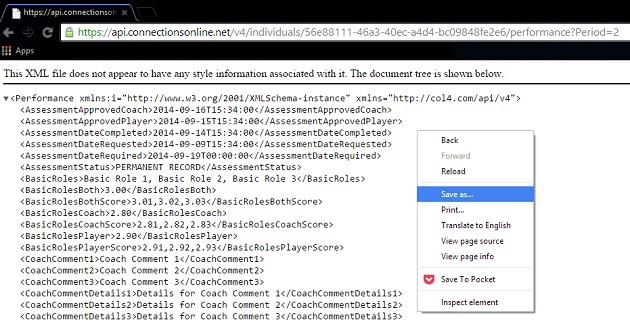
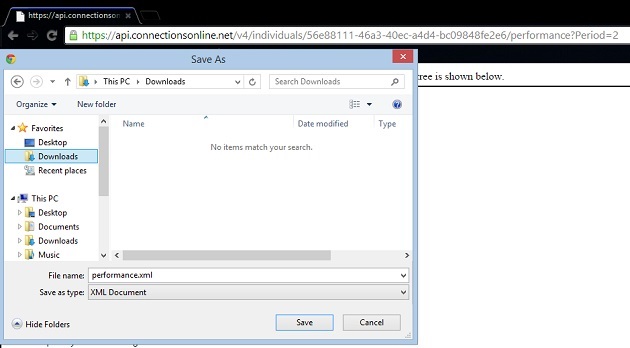
Next we want to save the data so we can import it into Excel. All we have to do to achieve this is right click anywhere on the screen and select save as.
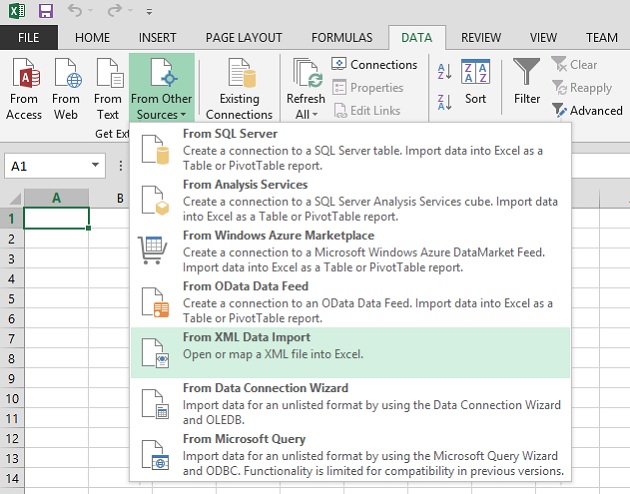
Open Excel if it isn't already running click on "Data" and select the "From Other Sources" drop down. Finally select "From XML Data Import". Choose the file you saved earlier from the file picker and tell it to import. Depending on your settings Excel may mention that "The specified XML source does not refer to a schema" Click ok and then you will be asked to choose where to insert the data.
Once imported you your screen will look similar to this.

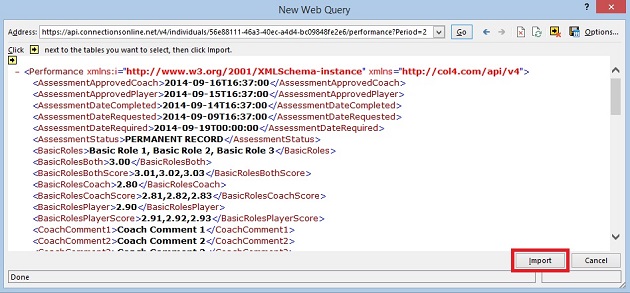
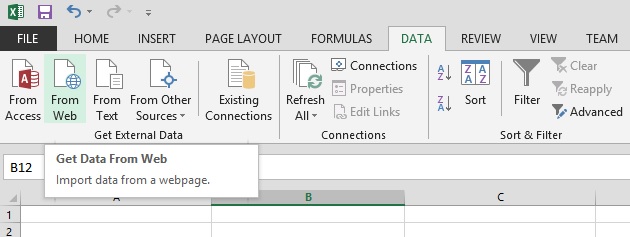
It is possible to import data directly into Excel. You will still have to follow the above steps in order to get the Individual's ID and Period ID. After you have obtained those Open Excel. Going back to the Data Tab you will need to select "From Web".
This will bring up a web browser. Put the same address as above in the address bar, hit enter, and then enter your user name and password. Once this is done you should see a screen that looks similar to this. Click the import button that is boxed in read on the above screen shot and just follow the directions to choose which rows and columns to fill.